Resizing Images For Web and Social Media

One of the most common mistakes that’s made when uploading images is that they haven’t been resized correctly. Incorrectly sized images are obvious; these can look stretched, blurry or pixelated. Poor quality images can have a major impact on site conversions, so it’s essential that you get it right when resizing them. That goes for social media too, as your followers are unlikely to share content that doesn’t look good. We’ve put together a simple guide for how to resize your images along with the size requirements for various website platforms and social media channels.
How to Resize Images on Photoshop*
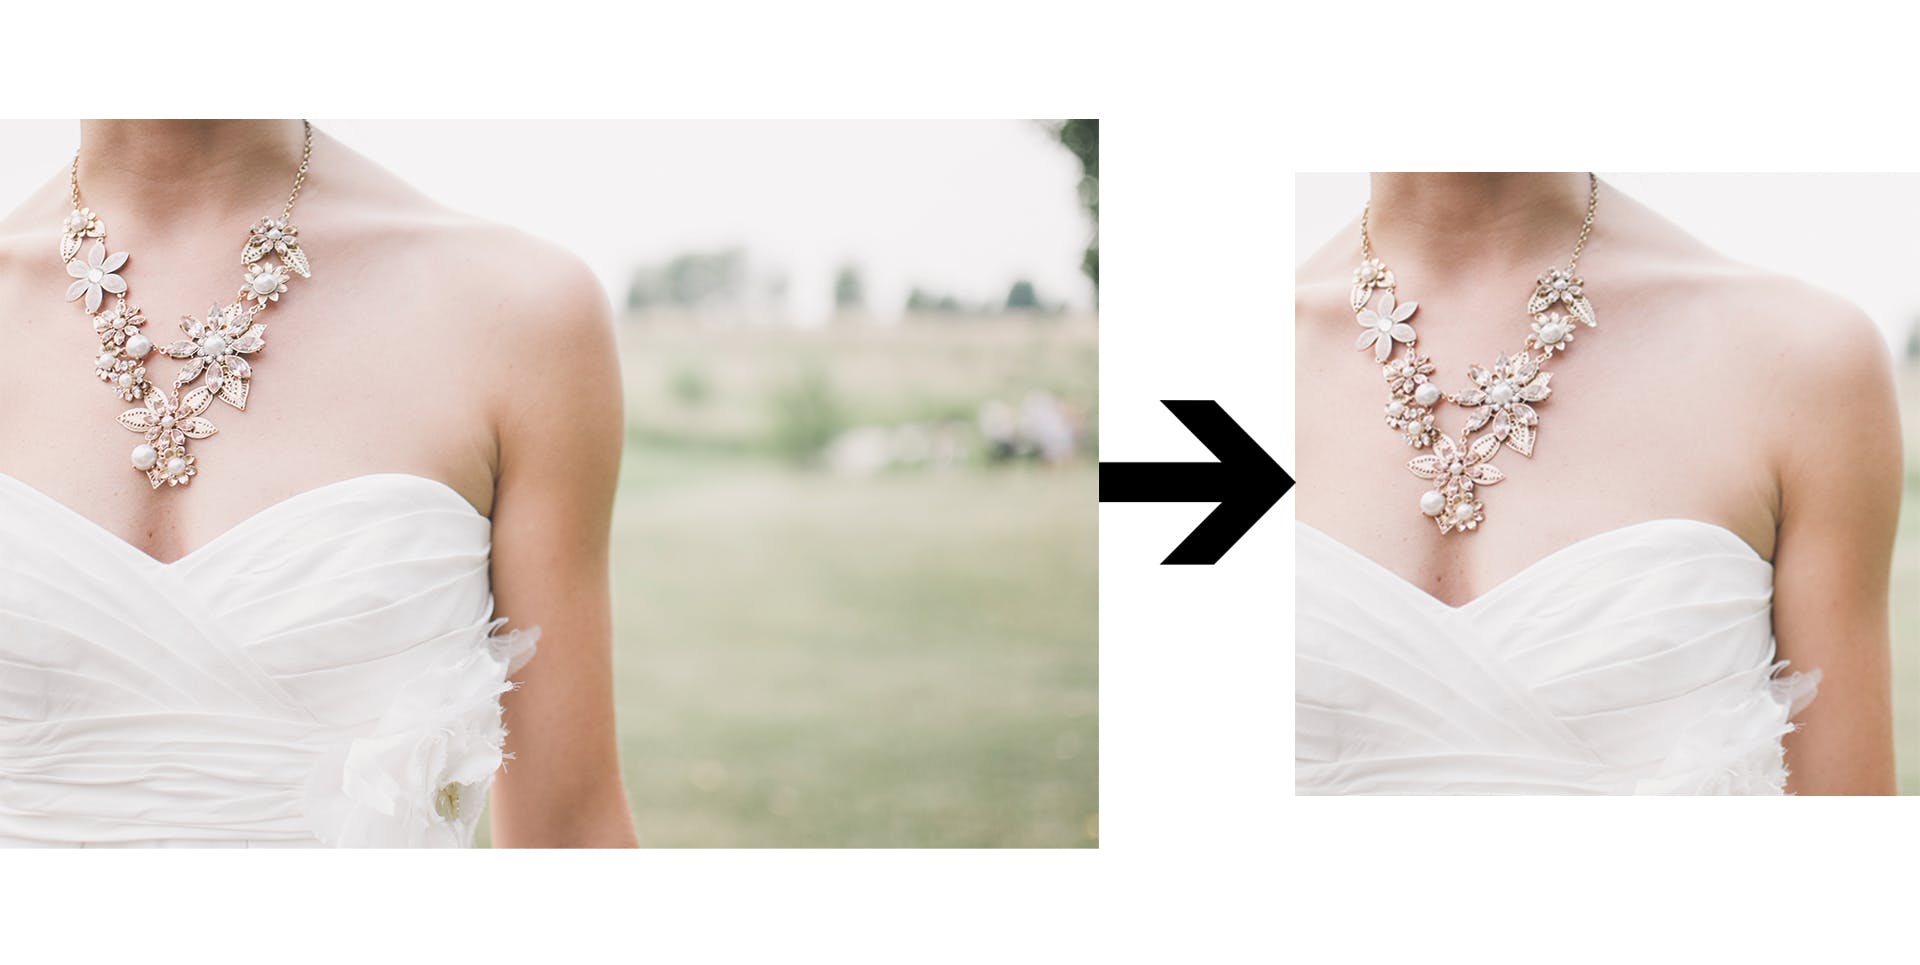
Each type of image (product, banner, thumbnail etc) must have the exact same width to height ratio in order to maintain a consistent look, especially for product list pages. Keep in mind that the aspect ratio of the photo you’re working with is unlikely to be the same that is required for each image type. For example, if the ratio of your original image is 7:5, part of the image would need to be cropped out to fit a 4:3 image. Follow the steps below to ensure each batch of images maintain the same dimensions:
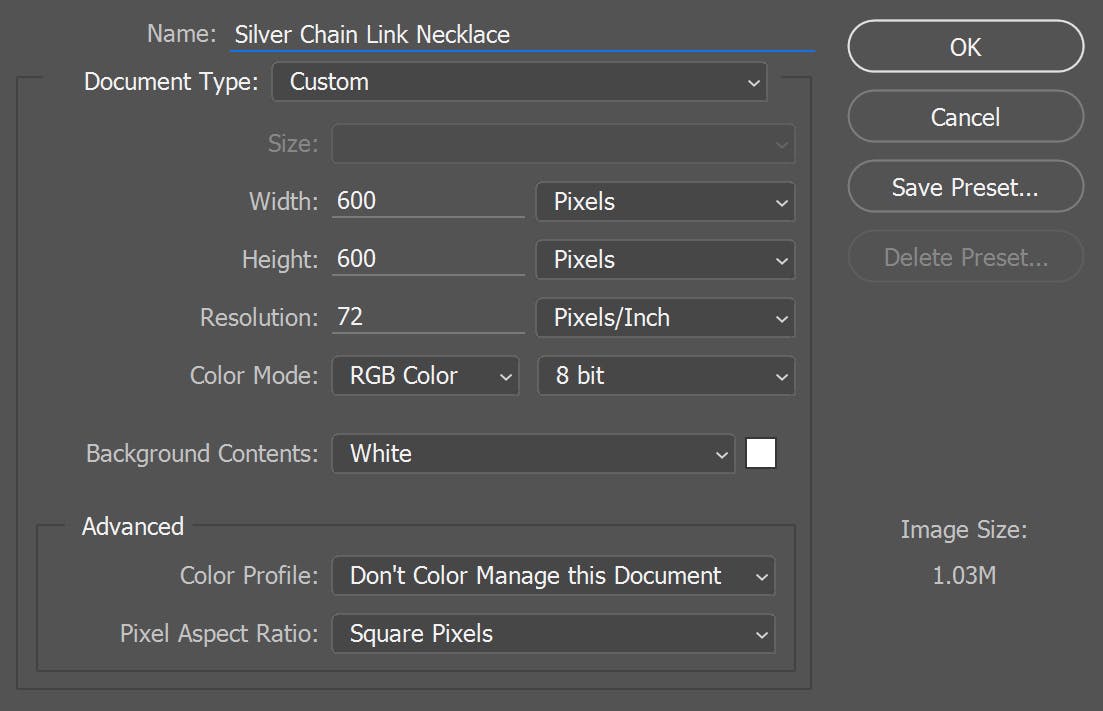
- Create a template for the type of image you want to edit by clicking File > New
- Give the template a name e.g. homepage banners
- Set the width & height dimensions required
- Set the resolution to 72 (higher resolutions are unnecessary for websites and create a bigger file size.)
- Make sure the colour mode is set to RGB Colour and 8 bit
- Select your ‘background contents’ which would usually be white or in some cases transparent.
- Once you click the ‘OK’ button, you’ll see the image template appear. Then select File > Place Embedded
- Choose which image you wish to edit first
- You should now see the image overlapping the image template. Zoom out if you can’t see the corners of the embedded image, then click on one of the corners.
- Click on the ‘maintain aspect ratio’ icon
- Drag the corners of the image to fit into the template and hit enter on your keyboard when you’re happy with it.
- Save the image, preferably with a name that describes the image
Keep the template open and carry on placing the rest of the images with the same process until you’ve finished editing the batch.

* This is based on Adobe Photoshop version CC 2015.
Product Image Size Guide
The image dimension requirements depend on which web platform you use, or in some cases may depend on the template used:
Shopify
Any size up to 4472px by 4472px, or 20 megapixels. Shopify’s recommended product image size is 1024px by 1024px
Magento
These are the dimensions that Magento scales images down to (unless they were changed when the website was developed), so make sure your images have the same aspect ratio:
- Base product image (main image on product page):
– 1100px by 1100px (with zoom)
– 470px by 470px (without zoom)
- Small image (used in listings on category and search results pages): 470px by 470px
- Thumbnail: 50px by 50px
WooCommerce
The maximum image size depends on your WooCommerce site’s theme. If you need to check your site’s different image sizes click here
Social Media Image Size Guide
Each social media channel displays images with different dimensions. Make sure the images you upload are the same size – or larger with the same aspect ratio.
These are the most recent size requirements (Last updated 22nd September 2017_
![]()
- Profile picture: 180px by 180px
- Cover photo: 828px by 315px
- Shared images: 1200px by 630px
![]()
- Profile picture: 400px by 400 px
- Header image: 1500px by 500px
- Shared images: 440px by 220px
![]()
- Profile picture: 180px by 180px
- Shared Images: 1080px by 1080px
![]()
- Profile picture: 165px by 165px
- Pins (expanded): 600px wide with a scaled height
Google +
![]()
- Profile picture: 250px by 250px
- Cover Image: 1080px by 608px
- Shared image: 497px by 279px
![]()
- Profile picture: 400px by 400px
- Company Cover photo: 974px by 330px
- Shared images: 550px by 375px
Reminders For Saving Images
- When resizing, make sure you maintain the same aspect ratio so that the image doesn’t become automatically stretched when uploading to the web
- Save a copy of the image with the original file size in case you need use the image again with different dimensions. If you’ve used layers in Photoshop, keep a copy of the PSD file so that you can go back and edit the individual layers
- As well as re-sizing your images, they also need to be compressed to help avoid your webpages loading slowly. Learn more about optimising your images.


